5 Halloween Bat Wall Ideas: 5 Ways to Hang Paper Bats
As an Amazon Associate we earn from qualifying purchases.
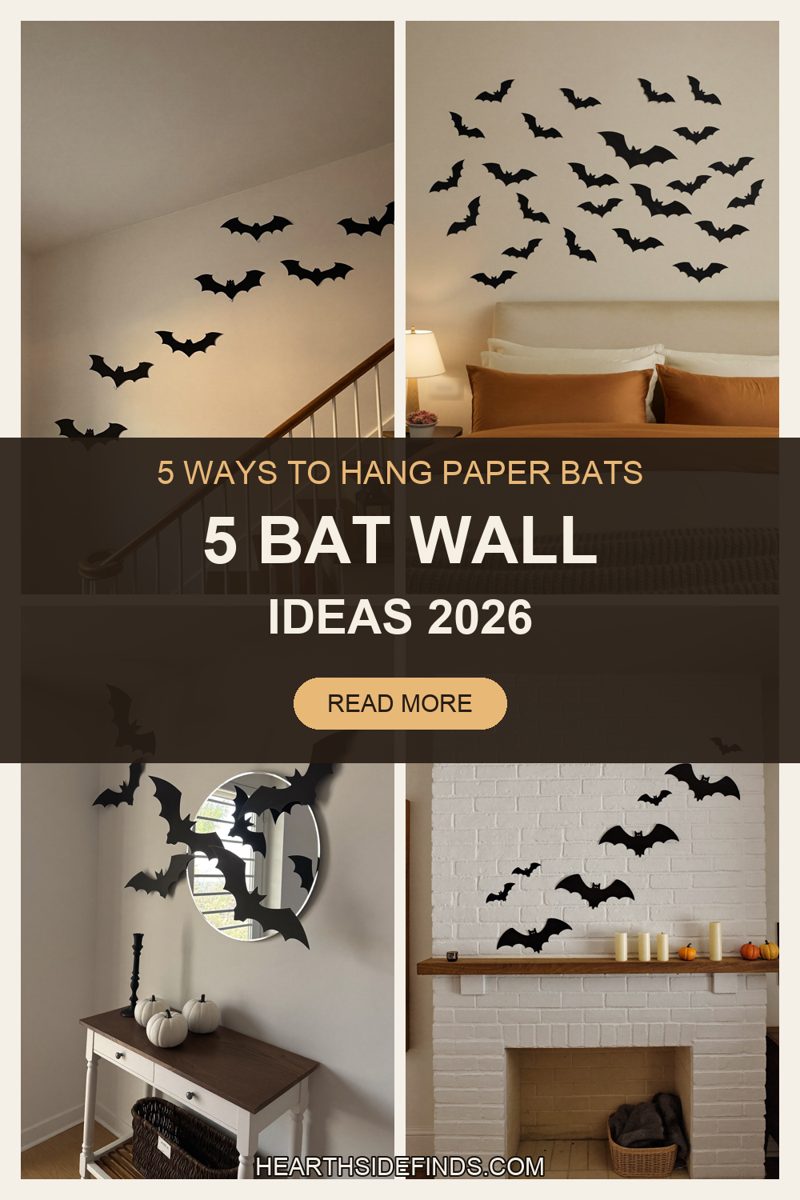
Five ways to hang a swarm of removable black paper bats, up the staircase, over the bed, around the entry mirror, above the mantel and behind the dining table, plus how to plan the shape and protect your paint.
Few Halloween decorations give as much back for as little effort as a wall of paper bats. A flat pack of black cutouts, a few minutes of folding, and a blank wall becomes a swarm pouring out of a corner. There is nothing to plug in, nothing that needs a giant storage tub, and with careful hanging there should be nothing to patch afterwards. It works in a house, an apartment or a dorm room.
All five ideas below use the same thing: a pack of removable black 3D paper bat wall decorations. What changes is the wall and the shape of the flight. A staircase wants a long diagonal. A bedroom wants a loose arc over the headboard. An entry mirror gives the bats somewhere to burst out from, a mantel gives them something to rise above, and a dining room wall turns them into a party backdrop.
The difference between a bat wall that looks striking and one that looks like stickers on a wall comes down to arrangement. Real swarms are dense at the source and thin at the edges, they travel in one direction, and no two animals hold their wings the same way. Copy those three things and the rest takes care of itself. The planning steps are set out in detail further down the page.
We have also covered the practical worries: how to hang paper bats without pulling paint, roughly how many a wall needs, and how to take them down in November so the same pack can come out again next year. Read the notes for the room you have in mind first, then the how-to sections before you stick anything up. Ten minutes of planning saves a lot of repositioning.
1. The 10-Minute Bat Staircase | Halloween Staircase Decor Ideas
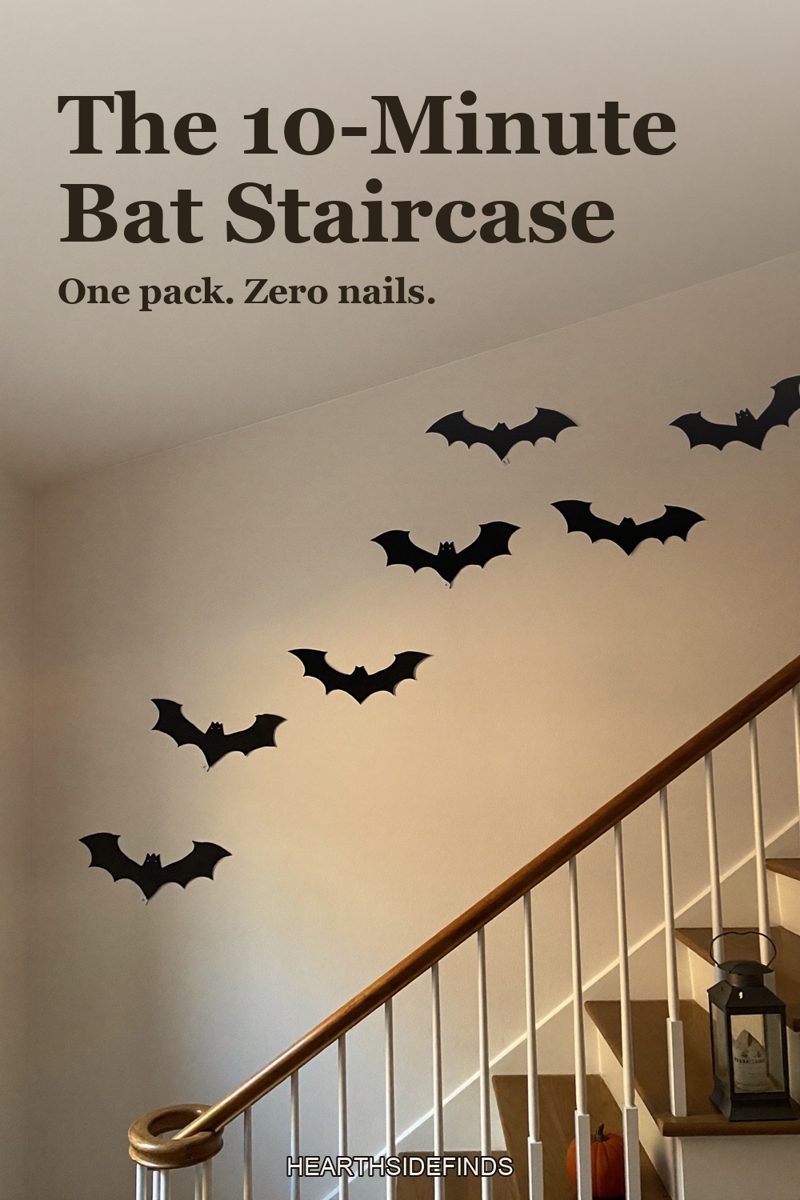
Removable paper bats climbing the staircase wall make the whole entry feel like Halloween in about ten minutes. No nails, and they lift off in November. Check the current product details on Amazon.
The staircase wall is the natural home for a bat swarm because the diagonal is already there. Begin tight and low near the bottom step, then let the bats climb roughly parallel to the handrail, spreading wider as they rise. Keep them above rail height so sleeves and bags do not brush them off. A pumpkin and a lantern on the lower steps, tucked to the wall side, ground the scene. Even, wallpaper-like spacing is the thing to avoid.
2. The Bat Wall Over the Bed | Spooky Bedroom Decor Ideas for Halloween
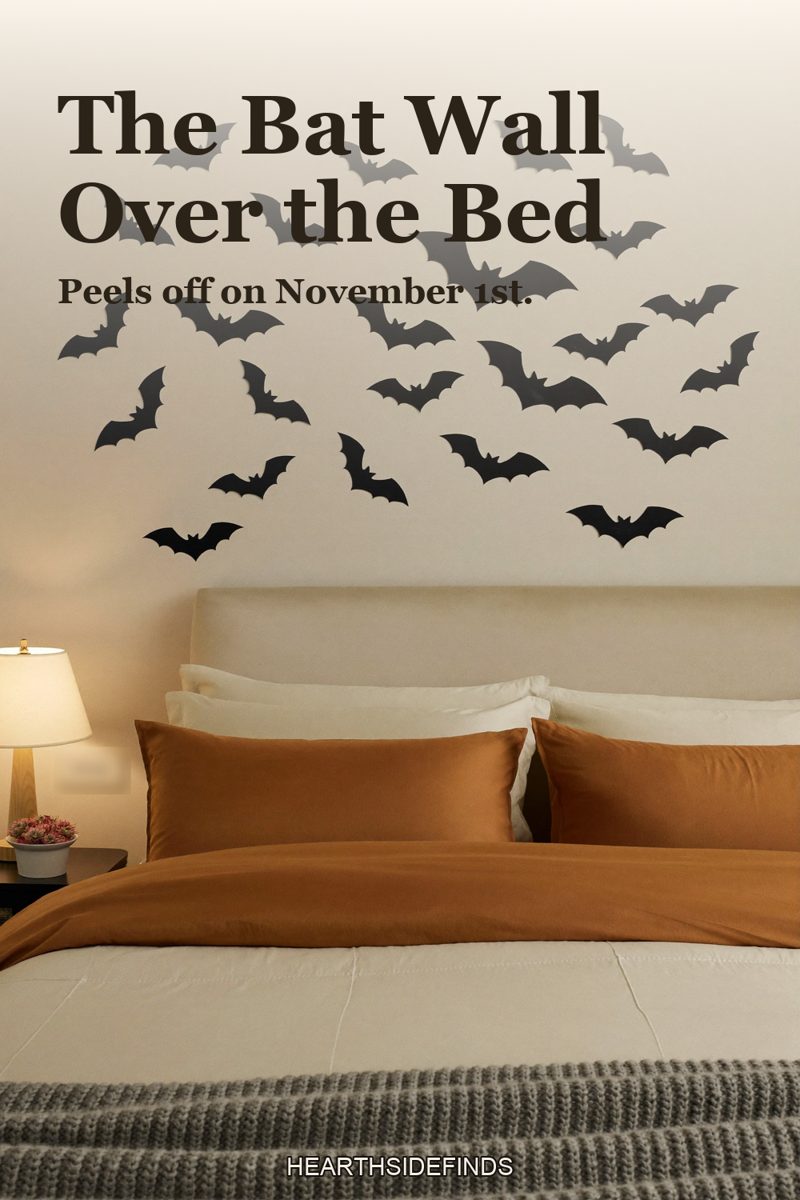
A pack of removable paper bats above the headboard turns a plain bedroom wall into easy Halloween decor. Peel, stick, and lift them off when the season ends. Check the current product details on Amazon.
Over the bed, aim for a loose arc that starts behind one corner of the headboard and drifts up and across toward the opposite top corner of the wall. Leaving the area directly above the pillows fairly light keeps the room calm enough to sleep in. Rust, cream or charcoal bedding echoes the black nicely. Teens tend to love this one. Keep bats out of the draft from a ceiling fan or heating vent, which can work them loose.
3. The 5-Minute Bat Entryway | Halloween Entryway Decor Ideas
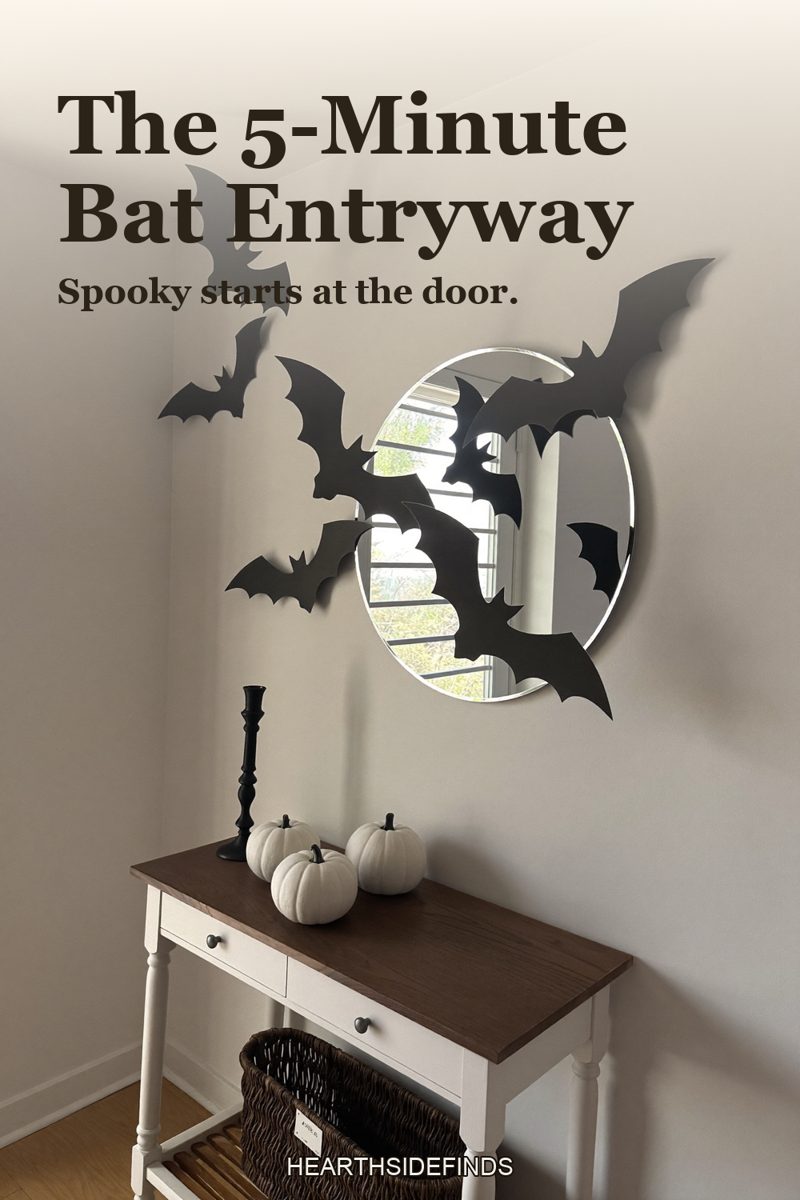
Black paper bats flying out from behind the entry mirror set the Halloween mood the second the door opens. Five minutes, no tools. Check the current product details on Amazon.
A round mirror gives the swarm a source. Tuck the first few bats so their wings just overlap the mirror's edge on one side, as if they were escaping from behind it, then fan them outward and upward across the wall. Stay with one side only, because bats leaving in every direction look like a sunburst. White pumpkins on the console keep the palette crisp. Check the view from the open front door, since that is what guests see first.
4. Bats Over the Mantel | Halloween Mantel Decor Ideas 2026
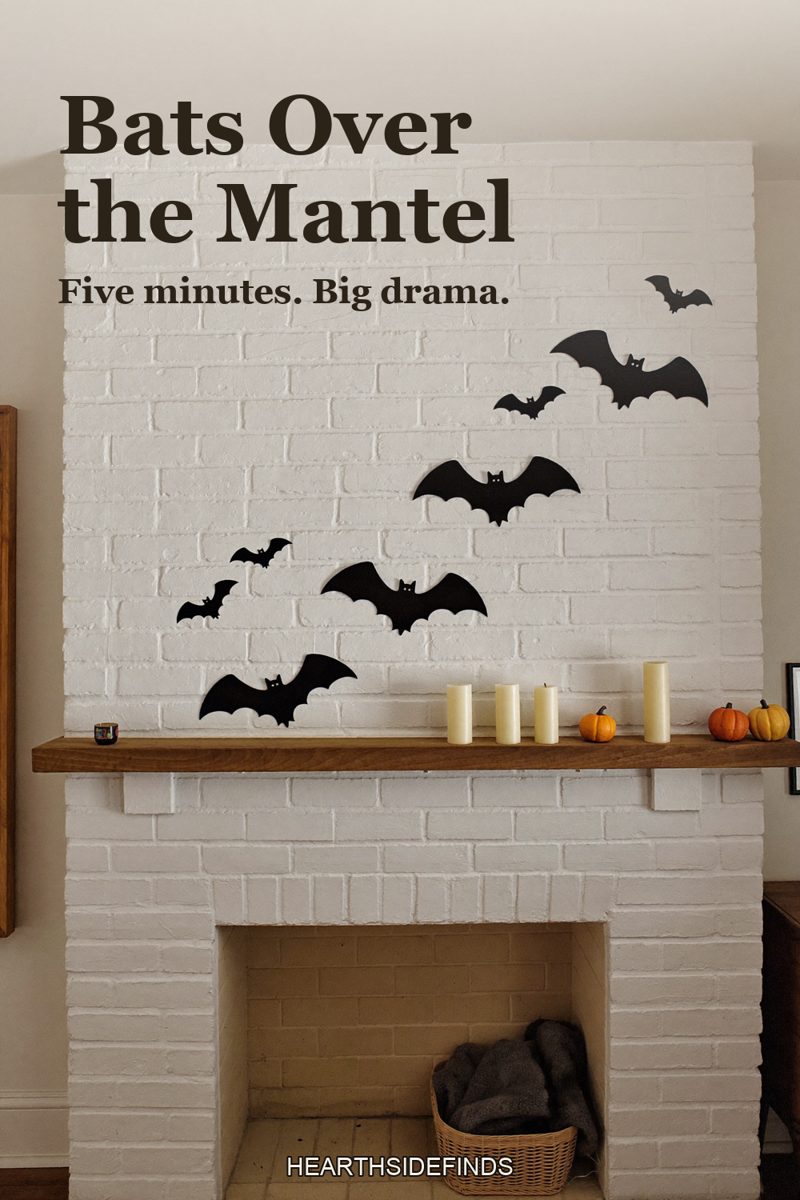
A swirl of removable paper bats above the fireplace is the fastest Halloween mantel there is. Stick them up, add pumpkins you already own, done. Check the current product details on Amazon.
Above a fireplace, the bats replace the usual mirror or artwork as the anchor. Start the cluster low at one end of the mantel shelf, just above the pumpkins, and let it swirl up and across in a gentle S toward the ceiling. Pale brick or a light wall gives the strongest contrast. Use pumpkins and candlesticks you already own below. Paper and heat do not mix, so keep bats well above candles and away from a working firebox.
5. The Bat Wall Dinner Party | Halloween Party Decor Ideas
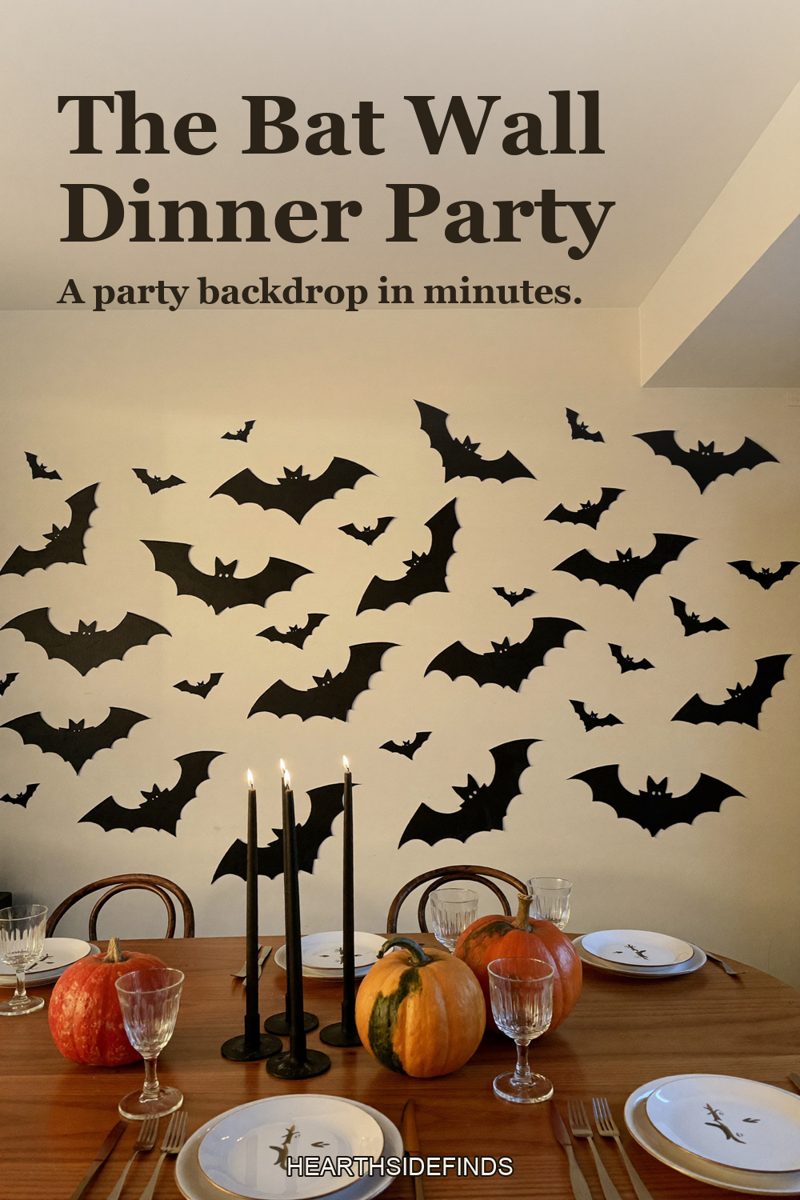
Hosting for Halloween? A wall of removable paper bats behind the table is an instant party backdrop, and it peels off clean afterwards. Check the current product details on Amazon.
For a party, the wall behind the table becomes the backdrop to every photo, so go bigger and denser than you would elsewhere. Think of one broad sweep travelling the length of the wall, thickest at one end. Set the table simply in black and orange: candles, a few pumpkins, plain linen. Put bats up the day before so any that loosen overnight can be pressed back. Keep the lowest ones above chair-back height to avoid snags.
How to plan the swarm shape
Decide where the bats are coming from and where they are going. The source should be a corner or an edge: the bottom of the stairs, behind a mirror, the end of a mantel, the corner of a headboard. From that point the swarm should fan out and up, like smoke from a chimney. Before sticking anything, lay the bats on the floor in the rough shape, or mark the path on the wall with a few scraps of painter's tape.
Cluster tightly at the source, with bats nearly touching and a few overlapping, then widen the gaps steadily as you move away until the last few are flying alone. If your pack includes more than one size, keep most of the large bats near the source and the middle of the swarm, and send the smallest to the far edges, which fakes distance. Scatter a couple of exceptions so it does not look sorted.
Now break the uniformity. Tilt every bat at a slightly different angle, generally pointing along the direction of travel but never perfectly aligned with its neighbor. Fold the wings forward along the body so they stand off the wall, some sharply and some only a little. That fold creates the 3D effect, because each bat casts its own shadow, and evening side light from a lamp or window seems to double the swarm. Step back across the room every ten bats or so and adjust.
How to hang paper bats without damaging paint
Paper bats weigh almost nothing, so they need very little holding power, and less adhesive is kinder to the wall. A small removable adhesive dot or a pea-sized ball of reusable mounting putty on the body of each bat is usually enough. Fix only the body and leave the wings free to fold outward. Whatever adhesive you choose, including any supplied with a pack, try it first somewhere hidden, such as inside a closet or behind a door, and leave it a day or two before checking.
Paint condition matters more than the adhesive. Fresh paint needs weeks to cure fully, and flat, chalky or older paint can lift with almost anything sticky, so take extra care there. Wipe dust off the wall with a dry cloth first so the dots grip paint and not dust. Textured walls hold less well, and putty pressed into the texture generally does better than flat dots. Avoid ordinary clear tape and permanent foam squares, both of which are known for taking paint with them.
How many bats you need, and how to store them for next year
It depends on the wall, but density matters more than coverage. A small accent, such as a burst from behind a mirror or a cluster over a mantel, reads well with a couple of dozen bats. A staircase run, the wall behind a bed or a dining room backdrop looks better with several dozen, and a very large wall may call for combining packs. Check the count on the pack you are looking at. If you run short, shrink the swarm and keep it dense instead of spreading bats thin.
To take them down, go slowly. Peel each bat from the body, pulling parallel to the wall and not straight out toward you. Roll putty off with your thumb, and if an adhesive dot resists, a few seconds of warm air from a hair dryer on a low setting usually softens it. Dab away any residue with a ball of the same putty.
For storage, unfold the wings so every bat lies flat again, remove old dots, and stack the bats by size. Slip the stack into a large envelope or between two pieces of cardboard, and keep it in a file folder or a shallow box somewhere dry. Flat, dry and unbent is all paper asks for. Tuck in a fresh sheet of adhesive dots and next October's bat wall is a quick job.
Questions people ask
How do you stick paper bats to a wall without damaging paint?
Use a small removable adhesive dot or a tiny ball of reusable mounting putty on the body of each bat, and try it on a hidden patch of wall for a day or two first. Avoid ordinary tape and permanent foam pads. When removing, peel slowly and parallel to the wall. Older, flat or freshly applied paint is the most likely to lift.
How many paper bats do I need for a bat wall?
For a small accent around a mirror or above a mantel, a couple of dozen bats is usually enough. A staircase, a dining room backdrop or the wall over a bed looks better with several dozen. Check the count listed for the pack you are considering, and remember that a smaller dense swarm looks better than a large sparse one.
How do you arrange bats on a wall so they look like they are flying?
Start with a tight cluster at one corner or edge, then fan the bats out and upward with wider gaps as you go. Mix sizes if you have them, tilt each bat at a slightly different angle along the direction of travel, and fold the wings forward so they cast shadows. Avoid even spacing and straight rows.
Can you reuse paper bat decorations next year?
Generally yes, if they come down gently. Peel each bat slowly, remove the old adhesive, flatten the wings and store the stack flat in an envelope or between cardboard somewhere dry. Creased or torn bats can be tucked into the dense part of next year's swarm where flaws do not show. Plan on fresh adhesive dots each season.
Will paper bats stick to textured walls?
They can, but flat adhesive dots have less surface to grip on heavy texture. Reusable mounting putty pressed firmly into the wall usually holds better because it molds to the bumps. Try one or two bats for a day before committing to the full swarm. Smooth nearby surfaces such as doors, mirrors and window glass are easy alternatives.